 Épingler
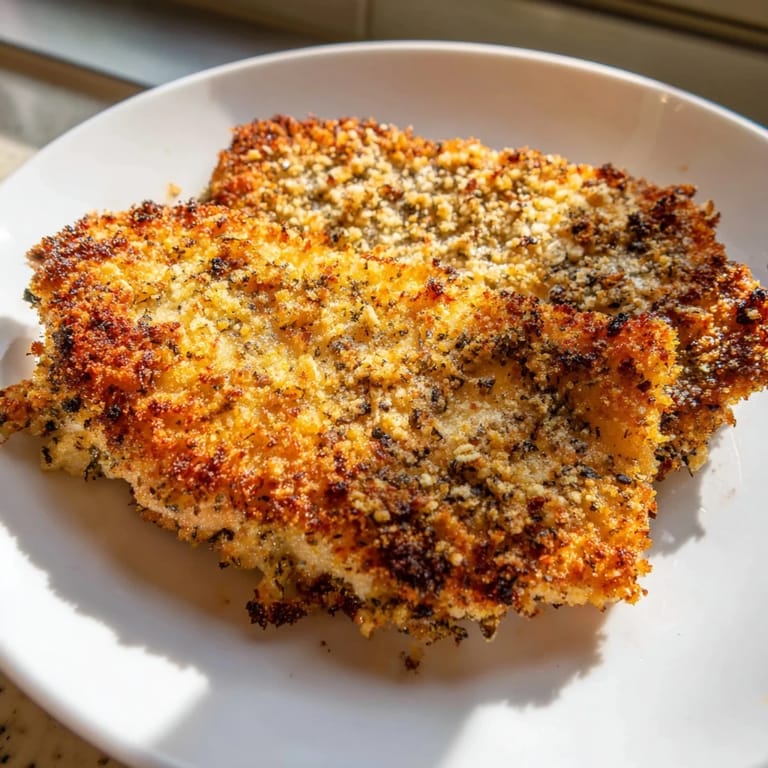
 My neighbor stopped by one afternoon while I was experimenting with my new air fryer, and I decided to test it with chicken cutlets. What came out was shockingly golden and crispy—nothing like the soggy results I'd gotten trying to pan-fry them before. She took one bite and asked if I'd deep-fried them in oil, which made me laugh because the whole point was using barely any oil at all. That moment convinced me this method was the one I'd stick with.
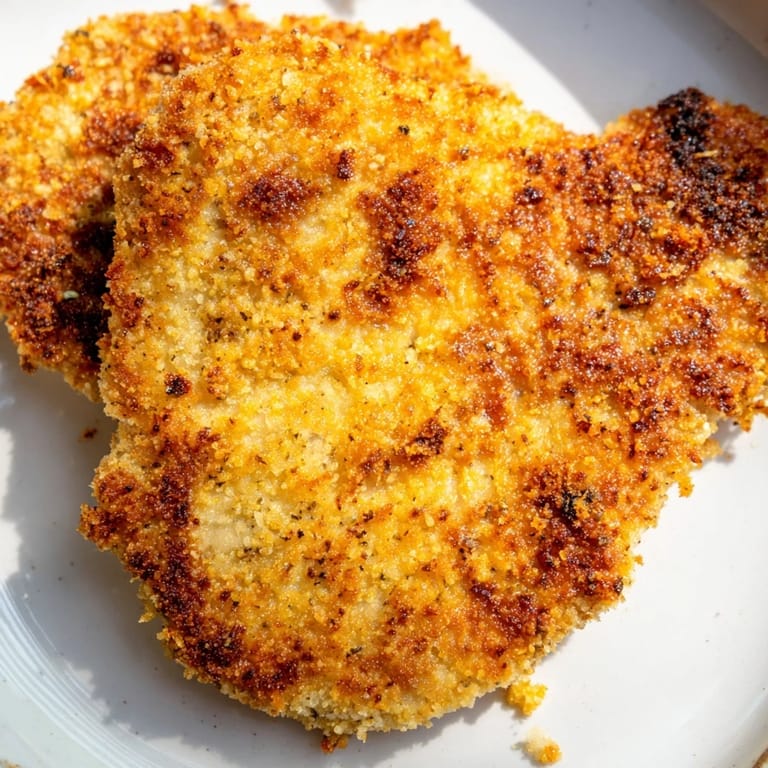
The first time I made these for my kids' friend who said she didn't eat fried food, she ate three cutlets. Watching her realize they were air-fried instead of pan-fried felt like a small victory in the kitchen. It's become my go-to when I want something that tastes indulgent but feels lighter.
Ingredients
- Chicken breasts: Pounding them thin ensures they cook through quickly and stay juicy in the middle—this one step changes everything.
- All-purpose flour: This is your base layer and helps the egg mixture stick; don't skip it even though it seems simple.
- Eggs and milk: The milk thins the egg slightly so it coats evenly without clumping, which I learned after one too many lumpy attempts.
- Panko breadcrumbs: Larger and crispier than regular breadcrumbs, they're what gives you that satisfying crunch.
- Parmesan cheese: Grated fresh adds a savory depth and helps the coating brown beautifully.
- Garlic powder, onion powder, smoked paprika: These three together create a flavor profile that tastes like you spent way more effort than you actually did.
- Salt and black pepper: Season generously—the coating needs it.
- Olive oil spray: A light mist is all you need; this is the secret to crispy exteriors without deep frying.
Tired of Takeout? 🥡
Get 10 meals you can make faster than delivery arrives. Seriously.
One email. No spam. Unsubscribe anytime.
Instructions
- Warm up your air fryer:
- Set it to 400°F and let it preheat for 5 minutes while you prep everything else. A hot basket is essential for that golden, crispy finish.
- Pound the chicken thin:
- Place each breast between parchment paper and pound to about half an inch thick. This lets them cook evenly and stay tender rather than drying out.
- Organize your breading station:
- Arrange three shallow bowls in a line: flour in the first, beaten eggs with milk in the second, and the panko-Parmesan mixture in the third. Having everything ready keeps this step smooth and prevents cross-contamination of dry ingredients with wet.
- Coat each cutlet:
- Dredge in flour, shaking off excess, then dip in egg, and finally press firmly into the panko mixture on both sides. That pressure helps the coating stick and crisp instead of flaking off mid-air-fry.
- Spray with oil:
- A light mist on both sides is crucial; this is what makes them crisp without tasting heavy or oily.
- Arrange and cook:
- Place cutlets in a single layer in the air fryer basket without touching. If they don't fit, cook in batches rather than stacking—overcrowding steams them instead of crisping them.
- Flip halfway through:
- After 7-8 minutes, flip each one, give them another light spray, and cook for another 6-7 minutes until they're deep golden and reach 165°F internally. Trust the temperature, not just the color.
- Let them rest:
- Two minutes of rest lets the coating set and keeps the inside juicy when you cut in.
 Épingler
 I learned the hard way that overcrowding the air fryer basket produces mediocrity—dense, steamed cutlets instead of the crispy treasure I was chasing. Now I'm patient and cook in batches if I need to, because the quality is worth the few extra minutes.
Flavor Variations to Try
Once you nail the basic version, the breading mixture becomes your canvas. I've added dried basil and oregano for an Italian-inspired version, mixed in everything bagel seasoning for something unexpected, and even stirred crushed chips into the panko for extra texture and funk. Each variation surprised me—what felt like a small tweak completely transformed the dish into something that felt fresh and exciting all over again.
Serving and Pairings
Lemon wedges are the obvious pairing, but I've also served these with homemade ranch, marinara, honey mustard, and even a quick sriracha mayo. A simple green salad cuts through the richness beautifully, and if I'm feeling generous, I'll roast some vegetables in the air fryer alongside them using the last few minutes of cooking time.
Storing and Reheating
Leftovers keep in an airtight container for up to three days, though they're honestly best eaten the same day. To reheat without losing the crunch, pop them back in the air fryer at 350°F for just 2-3 minutes rather than microwaving, which turns them soggy and defeats the entire purpose.
- Cold cutlets make excellent sandwich filling the next day if you have any left.
- You can freeze cooked cutlets and reheat them without much quality loss.
- Bread them ahead of time and refrigerate for up to 8 hours before air-frying if you want to save time on busy evenings.
 Épingler
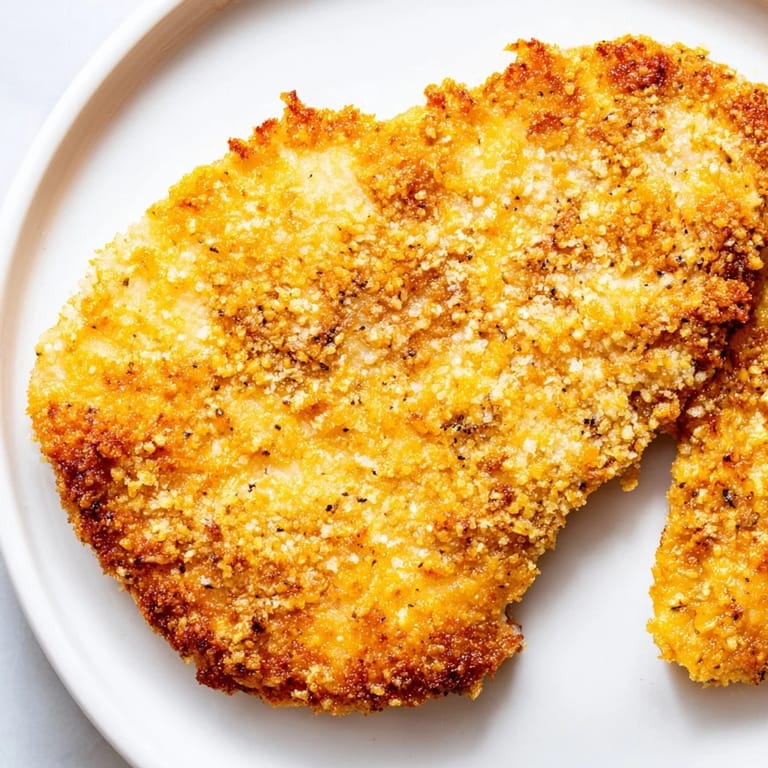
 This recipe has become my reliable answer when someone asks what's for dinner, because it delivers every single time. Golden, crispy, and done in less time than it takes to order takeout.
Questions fréquentes sur la recette
- → Comment obtenir un poulet croustillant à l'air fryer ?
Utilisez une panure avec panko et parmesan pour un croustillant optimal, et vaporisez légèrement d'huile avant cuisson.
- → Quelle épaisseur doit avoir le poulet avant cuisson ?
Il est conseillé d'aplatir les poitrines de poulet à environ 1,25 cm pour une cuisson homogène.
- → Peut-on ajouter des herbes pour plus de saveur ?
Oui, des herbes fraîches hachées comme le persil ou le basilic apportent une touche aromatique supplémentaire.
- → Quelle température et durée pour la cuisson ?
Préchauffez à 200°C, puis cuire environ 7-8 minutes de chaque côté jusqu'à une belle coloration dorée.
- → Comment adapter cette préparation sans gluten ?
Remplacez la farine et la chapelure par des versions sans gluten pour convenir aux intolérants.