 Épingler
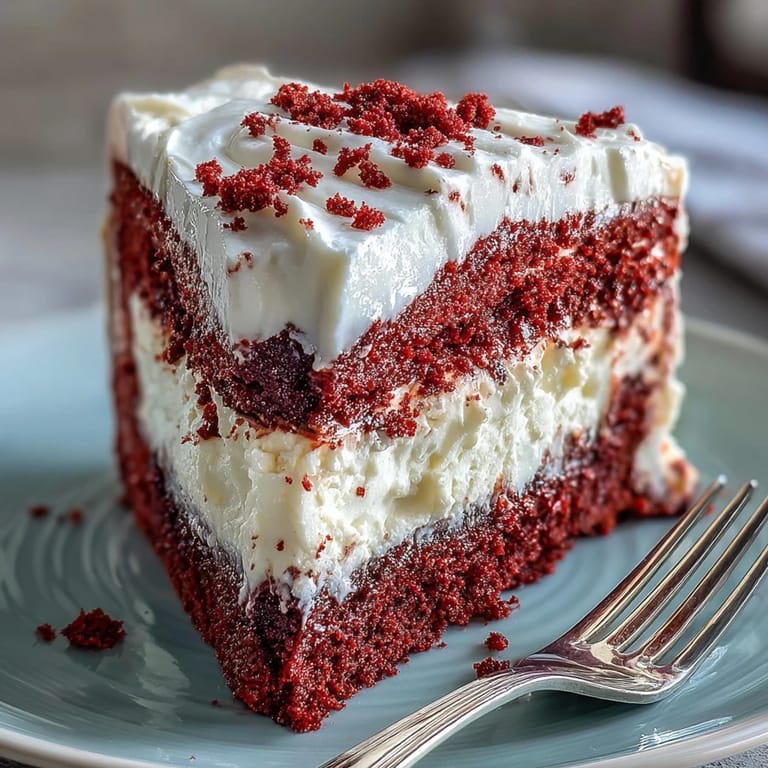
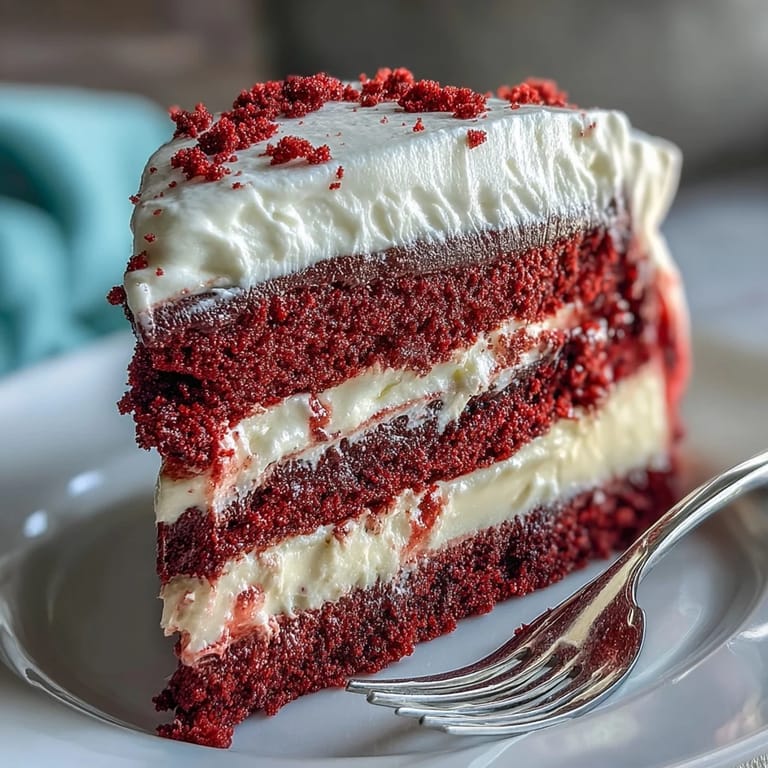
 There's something about red velvet cake that makes people pause mid-conversation when you bring it to the table. One rainy afternoon, I found myself staring at a cream cheese container, wondering what would happen if I tucked an entire cheesecake layer between two velvet cake layers. The result was so unexpectedly good that I've been refining it ever since, chasing that moment when someone takes a bite and their eyes go wide. This isn't just a dessert—it's a conversation starter wrapped in red frosting.
I made this for my sister's engagement dinner, and watching her cut into it to reveal those perfect layers felt like the whole kitchen held its breath. She was skeptical about combining two different desserts until that first forkful changed her mind. The way the red velvet crumbs caught the light on top made it feel like something you'd find in a fancy bakery, except it came from my oven.
Ingredients
- All-purpose flour (1 1/4 cups): This is your cake's foundation—measure it properly or the crumb becomes dense and the whole thing suffers.
- Unsweetened cocoa powder (1 tbsp): Just a whisper of chocolate that deepens the red velvet flavor without overwhelming it; don't skip this.
- Baking soda (1/2 tsp): Reacts with buttermilk to give the cake its signature tender crumb and slight tang.
- Unsalted butter (1/2 cup): Softened properly, it creams into that fluffy base that makes the cake light rather than heavy.
- Granulated sugar (1 cup): Works with butter to trap air, creating a moist cake that stays soft for days.
- Large eggs (2): Room temperature eggs blend smoothly into the batter without creating lumps or cold spots.
- Buttermilk (1/2 cup): The secret ingredient that gives red velvet its tangy edge and tender texture; if you don't have it, milk plus vinegar does the job.
- Red food coloring (1 tbsp): The star ingredient—start with this amount and add more if you want a deeper, more dramatic shade.
- Vanilla extract (1 tsp): Balances all the flavors so nothing feels one-dimensional.
- White vinegar (1 tsp): Enhances the subtle tang and helps activate the baking soda for lift.
- Cream cheese (16 oz), softened: Must be soft before mixing or you'll end up with lumps no amount of beating can fix.
- Sour cream (1/4 cup): Adds a silky texture and subtle tang to the cheesecake layer.
- Whipped cream (1 cup): Use homemade if you can—it tastes like clouds taste better than store-bought.
Tired of Takeout? 🥡
Get 10 meals you can make faster than delivery arrives. Seriously.
One email. No spam. Unsubscribe anytime.
Instructions
- Bake the Cheesecake Base First:
- Preheat your oven to 325°F and line a 9-inch springform pan with parchment paper on the bottom. This matters because you'll build the cake on top of it later. Beat softened cream cheese and sugar together until the mixture transforms from clumpy to completely smooth and creamy—this takes about 3 minutes if you're patient.
- Add Eggs Gently:
- Crack each egg into the cream cheese mixture one at a time, beating well after each addition so they fully incorporate without creating air bubbles that will crack the cheesecake. Once all eggs are in, mix in the vanilla and sour cream until you have a silky batter.
- Bake Until Just Set:
- Pour the batter into your prepared pan and slide it into the oven for 40 to 45 minutes—the center should jiggle slightly when you gently shake the pan, like it's not quite confident it's done. Pull it out, let it cool completely in the pan at room temperature, then chill it in the refrigerator for at least 4 hours or overnight so it firms up.
- Prepare the Red Velvet Layers:
- While the cheesecake chills, preheat your oven to 350°F and prepare two 9-inch round cake pans with grease and parchment. Sift together your flour, cocoa powder, baking soda, and salt in one bowl—sifting matters because it removes lumps and distributes leavening evenly.
- Cream Butter and Sugar:
- In a separate bowl, beat softened butter and sugar together until the mixture becomes pale, fluffy, and about doubled in volume—this is where the cake gets its tender crumb. This step takes about 3 to 4 minutes with a hand mixer, so don't rush it.
- Build the Wet Mixture:
- Add eggs one at a time to the butter mixture, beating after each addition, then mix in the buttermilk, vanilla, red food coloring, and vinegar until everything is combined and brilliantly red. The coloring will seem intense until you add the dry ingredients and it mellows slightly.
- Fold in Dry Ingredients:
- Gently add the dry mixture to the wet mixture, stirring just until combined—overmixing creates a tough cake, so stop as soon as you don't see flour streaks anymore. Divide the batter evenly between your prepared pans.
- Bake the Cake Layers:
- Bake for 25 to 30 minutes, testing with a toothpick that should come out clean when inserted into the center. Let the cakes cool in their pans for 10 minutes, then turn them out onto a wire rack to cool completely, which takes about an hour.
- Trim and Reserve Crumbs:
- Once cool, trim the tops of both cake layers so they're level and flat—this ensures the layers stack evenly. Save those trimmings because you'll crumble them for the final decoration.
- Stack the Layers:
- Place one red velvet cake layer on your serving plate, then carefully remove the chilled cheesecake from the springform pan and center it on top. Add the second cake layer and you've got the structure everyone will admire.
- Top and Chill Again:
- Spread whipped cream generously over the top and sprinkle those reserved red velvet crumbs across it for color and texture. Refrigerate the assembled cake for at least 1 hour before slicing so the layers stay distinct and clean.
- Slice with Intention:
- Use a sharp knife dipped in hot water and wiped clean between cuts—this prevents the crumb from dragging and shows off those beautiful layers.
 Épingler
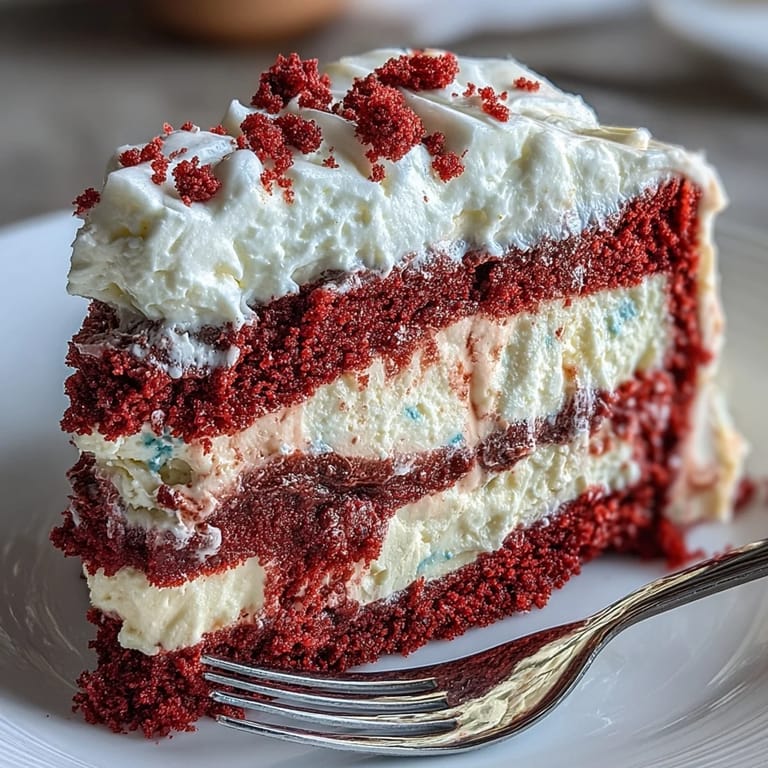
 My neighbor knocked on the door with her seven-year-old daughter one evening, asking if I had any dessert to spare for a birthday surprise. I sliced into this cake and watched the girl's face light up when she saw those three perfect layers reveal themselves on her plate. That moment reminded me that a dessert becomes memorable not because it's complicated, but because it delivers something unexpected on the inside.
The Magic of Layering
There's a reason bakeries charge extra for layered cakes—they require planning and patience, but the payoff is visual drama that tastes even better than it looks. The red velvet layers provide structure and flavor, the cheesecake layer adds richness and surprise, and the whipped cream on top ties everything into one elegant statement. Understanding how these three elements support each other teaches you something about how desserts work in general.
Timing and Temperature Matters
This dessert respects the clock because each component needs proper time and temperature to become what it's supposed to be. Rushing the chilling time will give you layers that blend together instead of staying distinct. The oven temperatures for the cheesecake and cake are different because cheesecake is delicate and needs gentle heat, while cake needs slightly higher heat to set quickly and keep its crumb structure.
Variations and Personal Touches
Once you've made this cake once, you'll start imagining how to make it yours—swapping in a different frosting, adjusting the red coloring to match your mood, or adding a hint of almond extract to the cheesecake layer. The foundation is solid enough to support your creativity without falling apart. I've seen versions with cream cheese frosting instead of whipped cream, and others with a thin layer of raspberry between the cake and cheesecake that work beautifully.
- For a less sweet version, reduce the sugar in the cheesecake layer by two tablespoons and let the tang of the sour cream shine through.
- If you want deeper red, use gel food coloring instead of liquid—it's more concentrated and won't thin your batter.
- Make this 24 hours ahead if possible; the flavors settle and deepen as it sits, and you'll have one less thing to worry about on serving day.
 Épingler
 This cake has a way of becoming the dessert people request when they want to feel celebrated. Bake it when you need to say something big without speaking out loud.
Questions fréquentes sur la recette
- → Combien de temps à l'avance puis-je préparer ce gâteau ?
La couche de fromage doit être réfrigérée au moins 4 heures, idéalement toute la nuit. Le gâteau assemblé nécessite 1 heure supplémentaire au réfrigérateur avant découpe. Vous pouvez tout préparer 24 à 48 heures à l'avance.
- → Puis-je remplacer le babeurre par du lait ordinaire ?
Oui, mélangez 120 ml de lait avec 1 cuillère à soupe de vinaigre blanc ou de jus de citron. Laissez reposer 5 minutes avant utilisation. Le résultat sera très proche en texture et saveur.
- → Comment savoir si la couche de fromage est assez cuite ?
Le centre doit être pris mais légèrement tremblotant, comme une gelée ferme. Ne pas surcuire, sinon le fromage risque de se fissurer en refroidissant. Le test du cure-dent n'est pas recommandé pour cette texture.
- → Quelle est la meilleure façon de conserver les restes ?
Couvrez le gâteau et conservez-le au réfrigérateur jusqu'à 4 jours. Pour une conservation plus longue, emballez les parts individuellement et congelez jusqu'à 2 mois. Décongelez au réfrigérateur pendant la nuit.
- → Puis-je préparer cette version sans gluten ?
Absolument, remplacez la farine tout usage par un mélange de farine sans gluten 1:1 de qualité boulangère. Vérifiez que tous les autres ingrédients (levure, colorant, fromage) sont certifiés sans gluten si nécessaire.
- → Pourquoi mon gâteau rouge velours n'est-il pas très rouge ?
La couleur dépend de la qualité du colorant alimentaire et de la réaction chimique entre le cacao et le vinaigre. Ajoutez le colorant progressivement jusqu'à obtenir la teinte désirée. Le gel colorant est souvent plus concentré que le liquide.